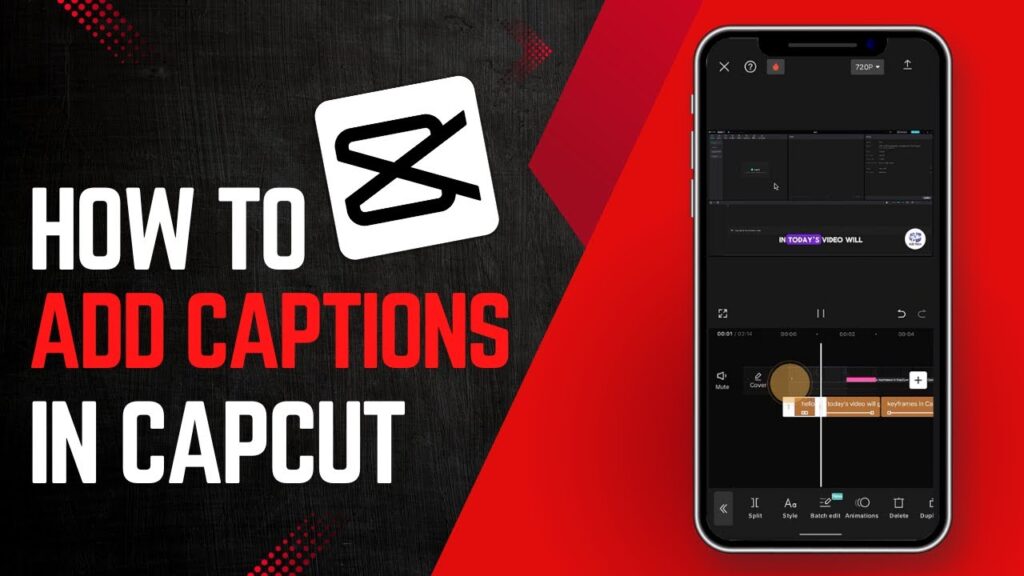
How to Add Captions in CapCut
In today’s digital age, adding captions to your videos can significantly enhance viewer engagement and accessibility. Whether you are creating content for social media or sharing videos with friends and family, having captions can make your message clearer. This guide will walk you through the process of adding captions in CapCut, an intuitive video editing app available on mobile devices.
Starting Your Project
-
Open CapCut: Begin by launching the CapCut app on your mobile device.
-
Create a New Project: Once the app is open, tap on “New Project” to start.
- Select Your Video: Choose the desired video from your device that you want to edit.
Importing Your Video
- Add Video to Project: After selecting your video, tap the add button in the bottom right corner to import it into your project.
Adding Captions
-
Access Text Options: With your video now in the project, tap on the “Text” option found in the menu bar at the bottom of the screen.
-
Select Auto Captions: Within the text menu, select “Auto Captions.”
-
Choose Language: Here, you will have the option to select the language of your video’s audio or captions.
-
Select Audio/Video: Choose the specific audio or video source from which you want to generate captions.
-
Pick a Template: In the templates section, you will find a wide variety of styles for captions. Browse through the options and tap on a template that matches your desired aesthetic.
- Generate Captions: After selecting a template, click on the “Generate” button at the bottom of the screen. This process may take a moment as CapCut processes your project to create the captions.
Customizing Your Captions
Once the captions have been generated, you can further customize them to fit your style:
-
Change Caption Color: To modify the caption color, select the text overlay. Then tap on the “Style” option from the menu and choose “Styles” at the top.
-
Select Custom Color: Tap on the color box to open a palette where you can select any custom color you desire.
- Apply the Color: After selecting your preferred color, tap on the tick icon in the bottom right corner to apply the changes.
Final Thoughts
Congratulations! You have successfully learned how to add and customize captions in CapCut. Captions not only enhance the accessibility of your videos but also contribute to viewer engagement. If you found this guide helpful, be sure to share it with others and subscribe to our channel for more useful tutorials and tips. Happy editing!


 | Automate Docs with Templates
 | Automate WordPress with Make Workflows
 | Step-by-Step Guide for PC Gamers
 | Step-by-Step Tutorial to Extract & Use JSON Data
 | Quick Guide To Copy And Share Your GitHub URL